Create a single-unit project
Set up a standalone build — one villa, one shed, one bridge — with its client, site, planned window, and project manager.
Overview
A project is the container everything else in RockOps hangs off: estimates, milestones, purchase orders, work logs, inventory, and payments are all scoped to one. Creating it is the first step of any new job.
The form asks for four things: what the project is and who it is for, where the
site is, when it is planned to run, and who manages it. You don't choose the
project's code — RockOps assigns one on save as PRJ-2026-0001, from a counter
kept per organization per year, so the sequence restarts each January.
One field on this form decides more than the others. Structure — Single Unit or Multi Unit — is what this page is about: Single Unit is for a standalone build, and saving one takes you straight to its overview. Multi Unit is for a project made of many units, like an apartment block, and saving one takes you into unit setup instead. See Create a multi-unit project for that path.
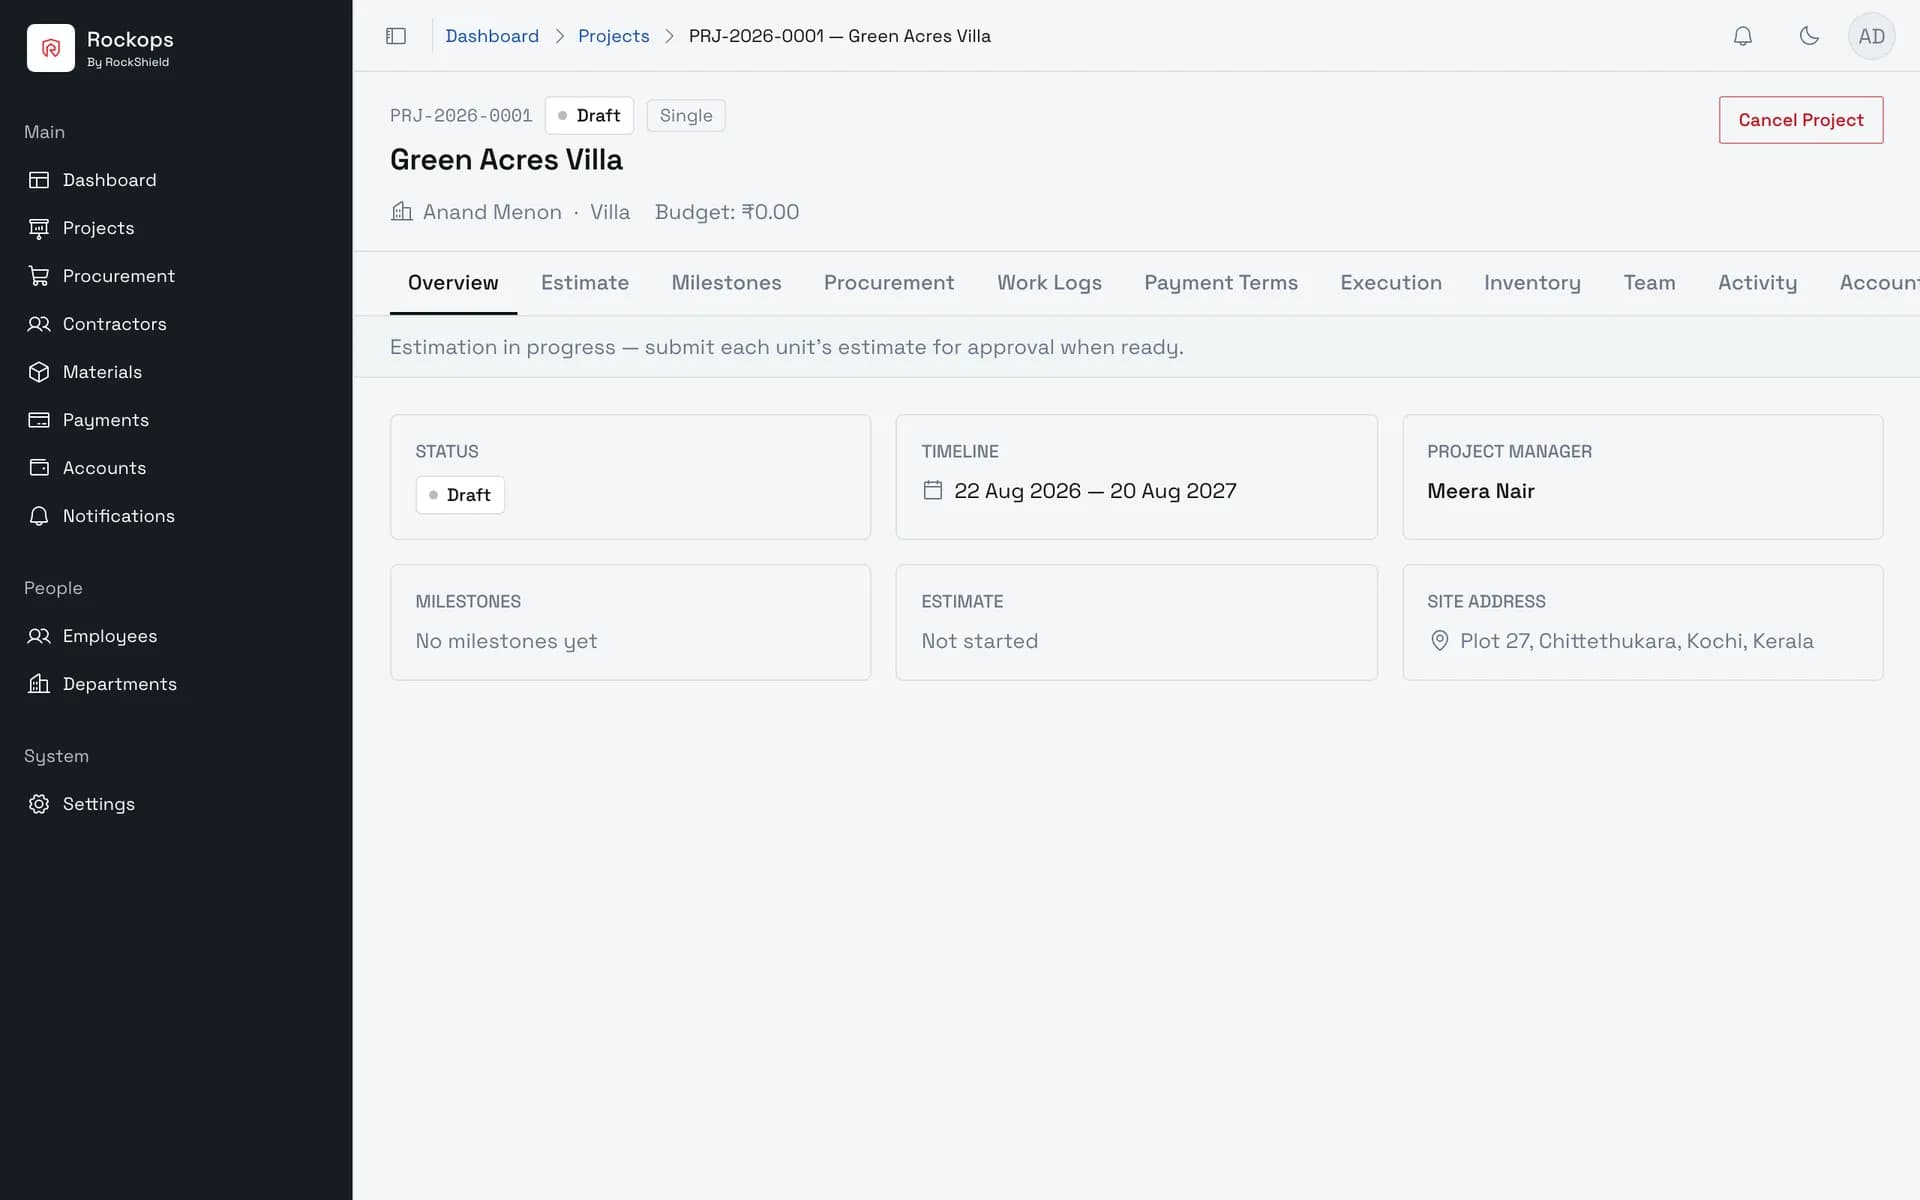
Every new project starts in Draft. It does not become Active by being created; it gets there through the estimate cycle — draft, estimate submitted, estimate approved, then active.
Before you start
Projects lives in the sidebar's Main section and is visible to most roles: Administrator, Owner, Organization Manager, Project Manager, Finance, Project Engineer, Planning Engineer, Quantity Surveyor, Document Controller, and Site Supervisor.
Creating one is much narrower — only Administrator, Owner, and
Project Manager — and the interface does not reflect that. The New
Project button is rendered for everyone who can open the module, and
/portal/projects/new has no role check of its own, so the only thing
enforcing the rule is the server. A Finance user or a Site Supervisor can
open this form, fill in all twelve required fields, and be refused only when
they press Create Project. If that is happening to you, this is why.
An employee must hold the Project Manager role before any project can be created at all. The Project Manager field is not a free-text box and not a list of senior staff — it offers only active employees whose organization role is Project Manager. Administrators and Owners do not qualify for it, so an organization that has never granted that role to anyone will find the field empty and the form unsubmittable. The role is set by the System role field on step 2 of the Add Employee wizard.
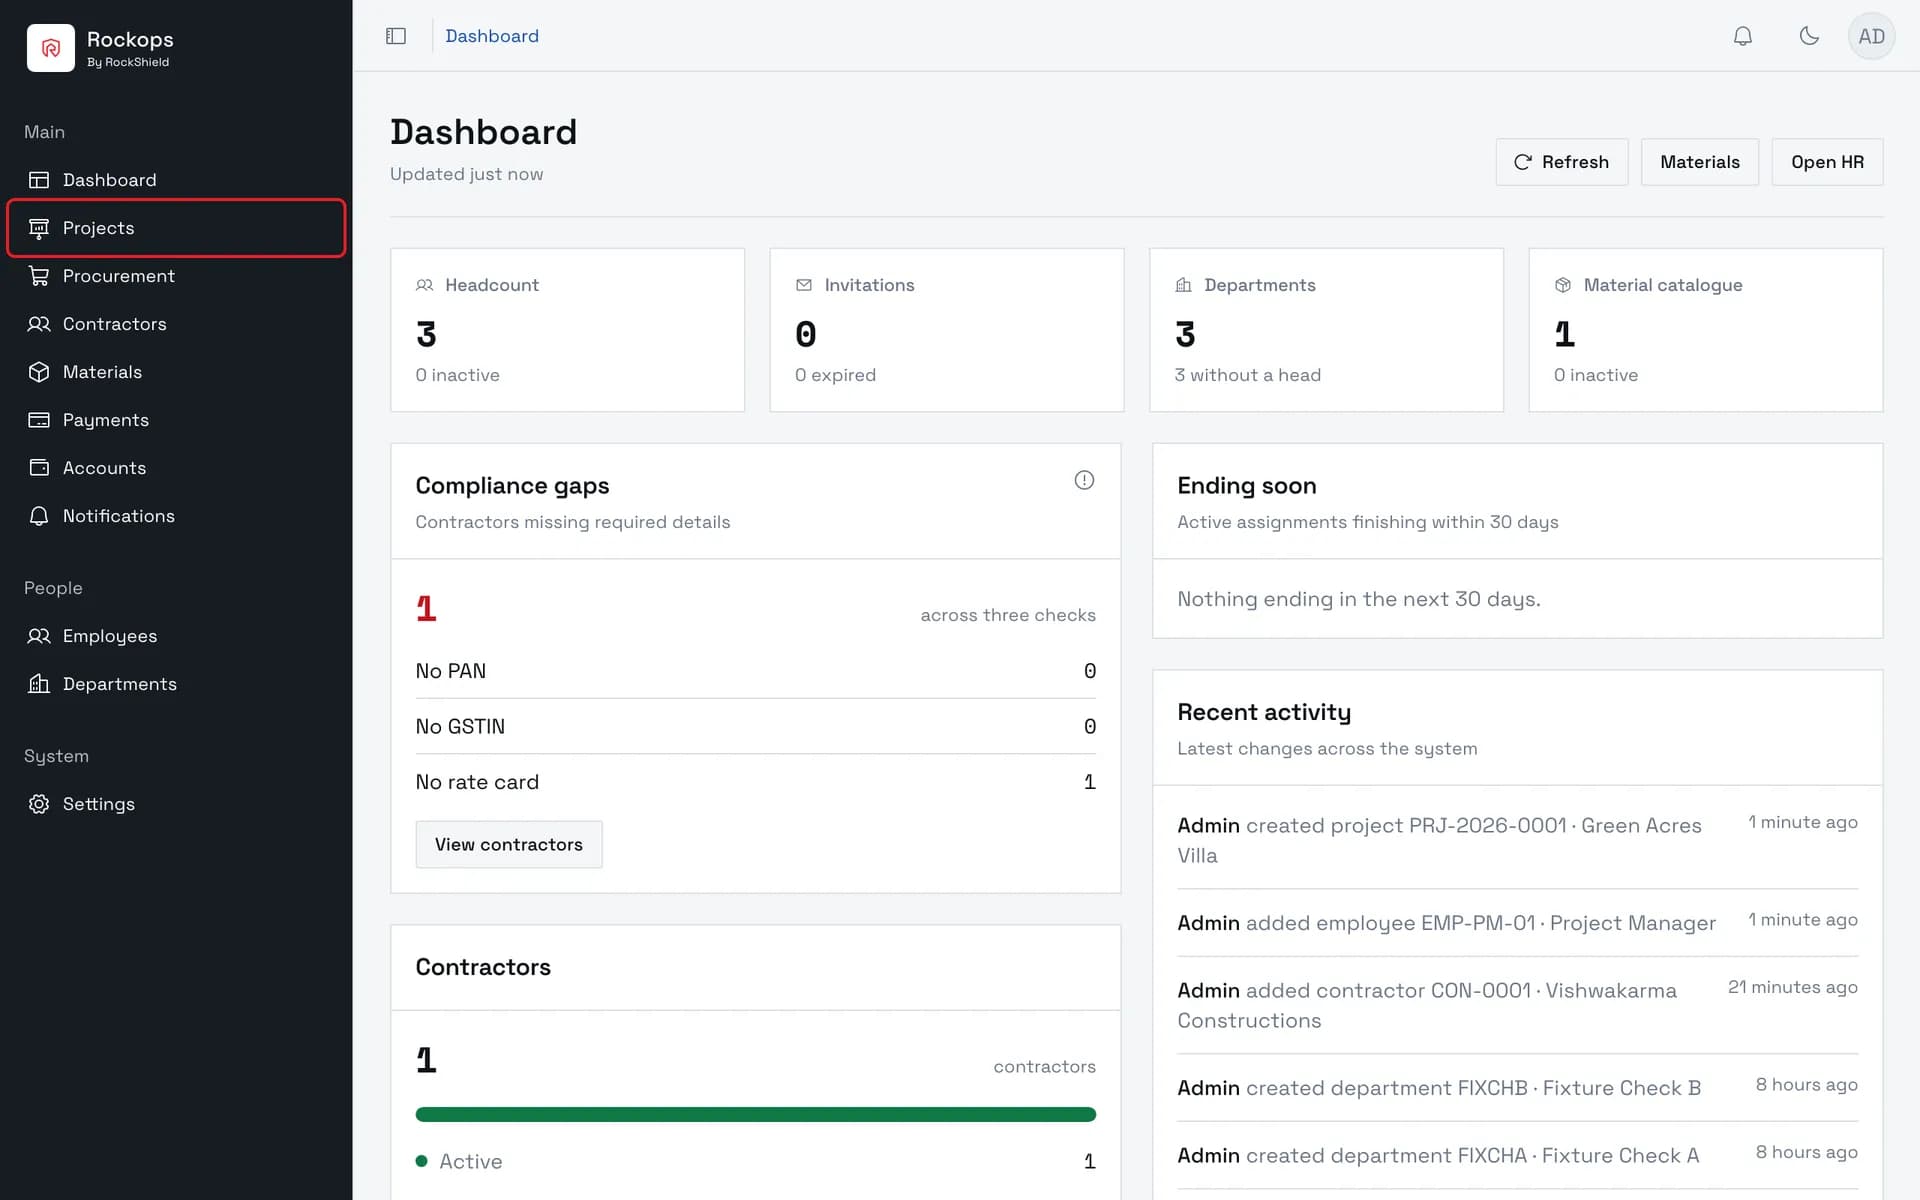
1. Open Projects
Projects is the second entry in the sidebar's Main section.
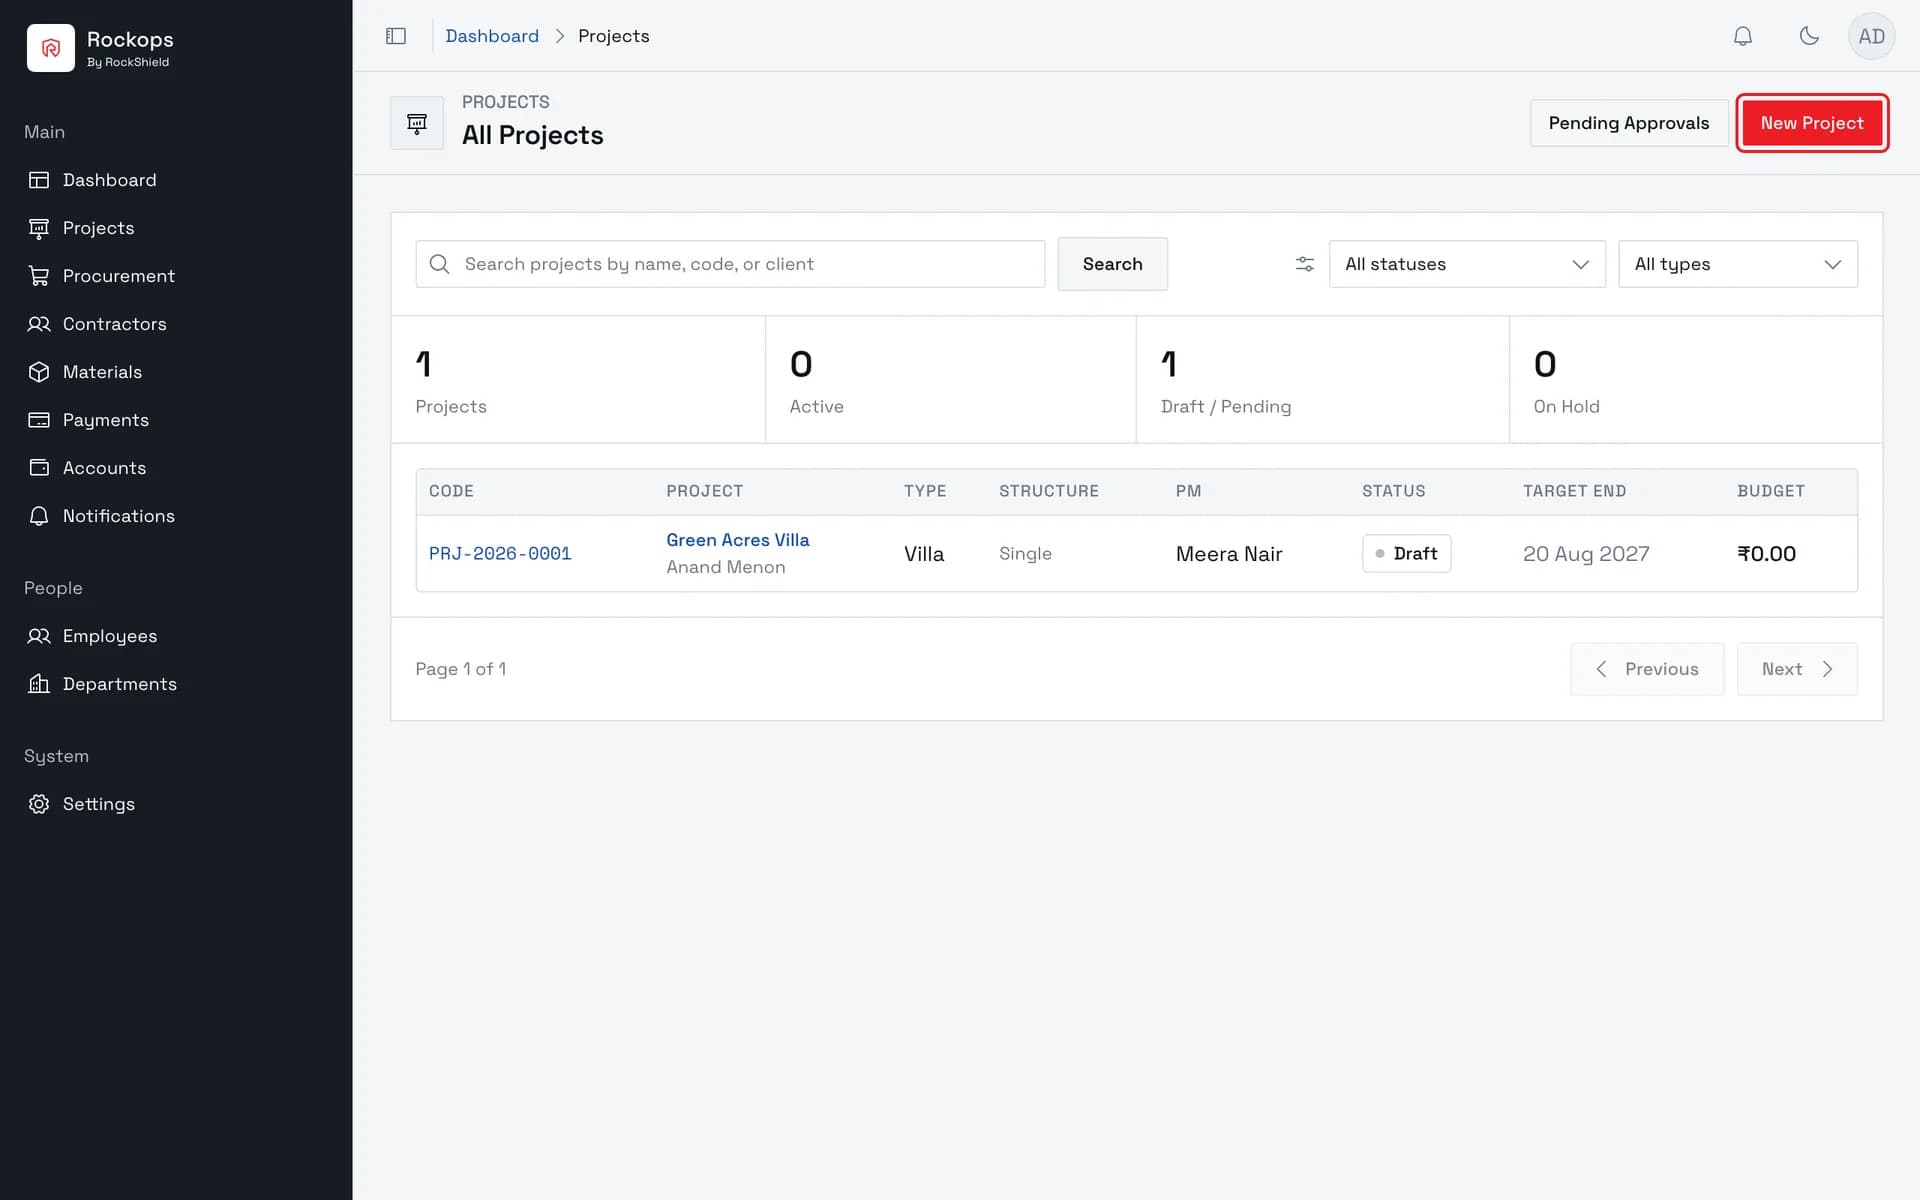
2. The Projects list
Every project in the organization, with its code, client, status, and planned window. The status filter defaults to open projects, so completed and cancelled ones are hidden until you change it.
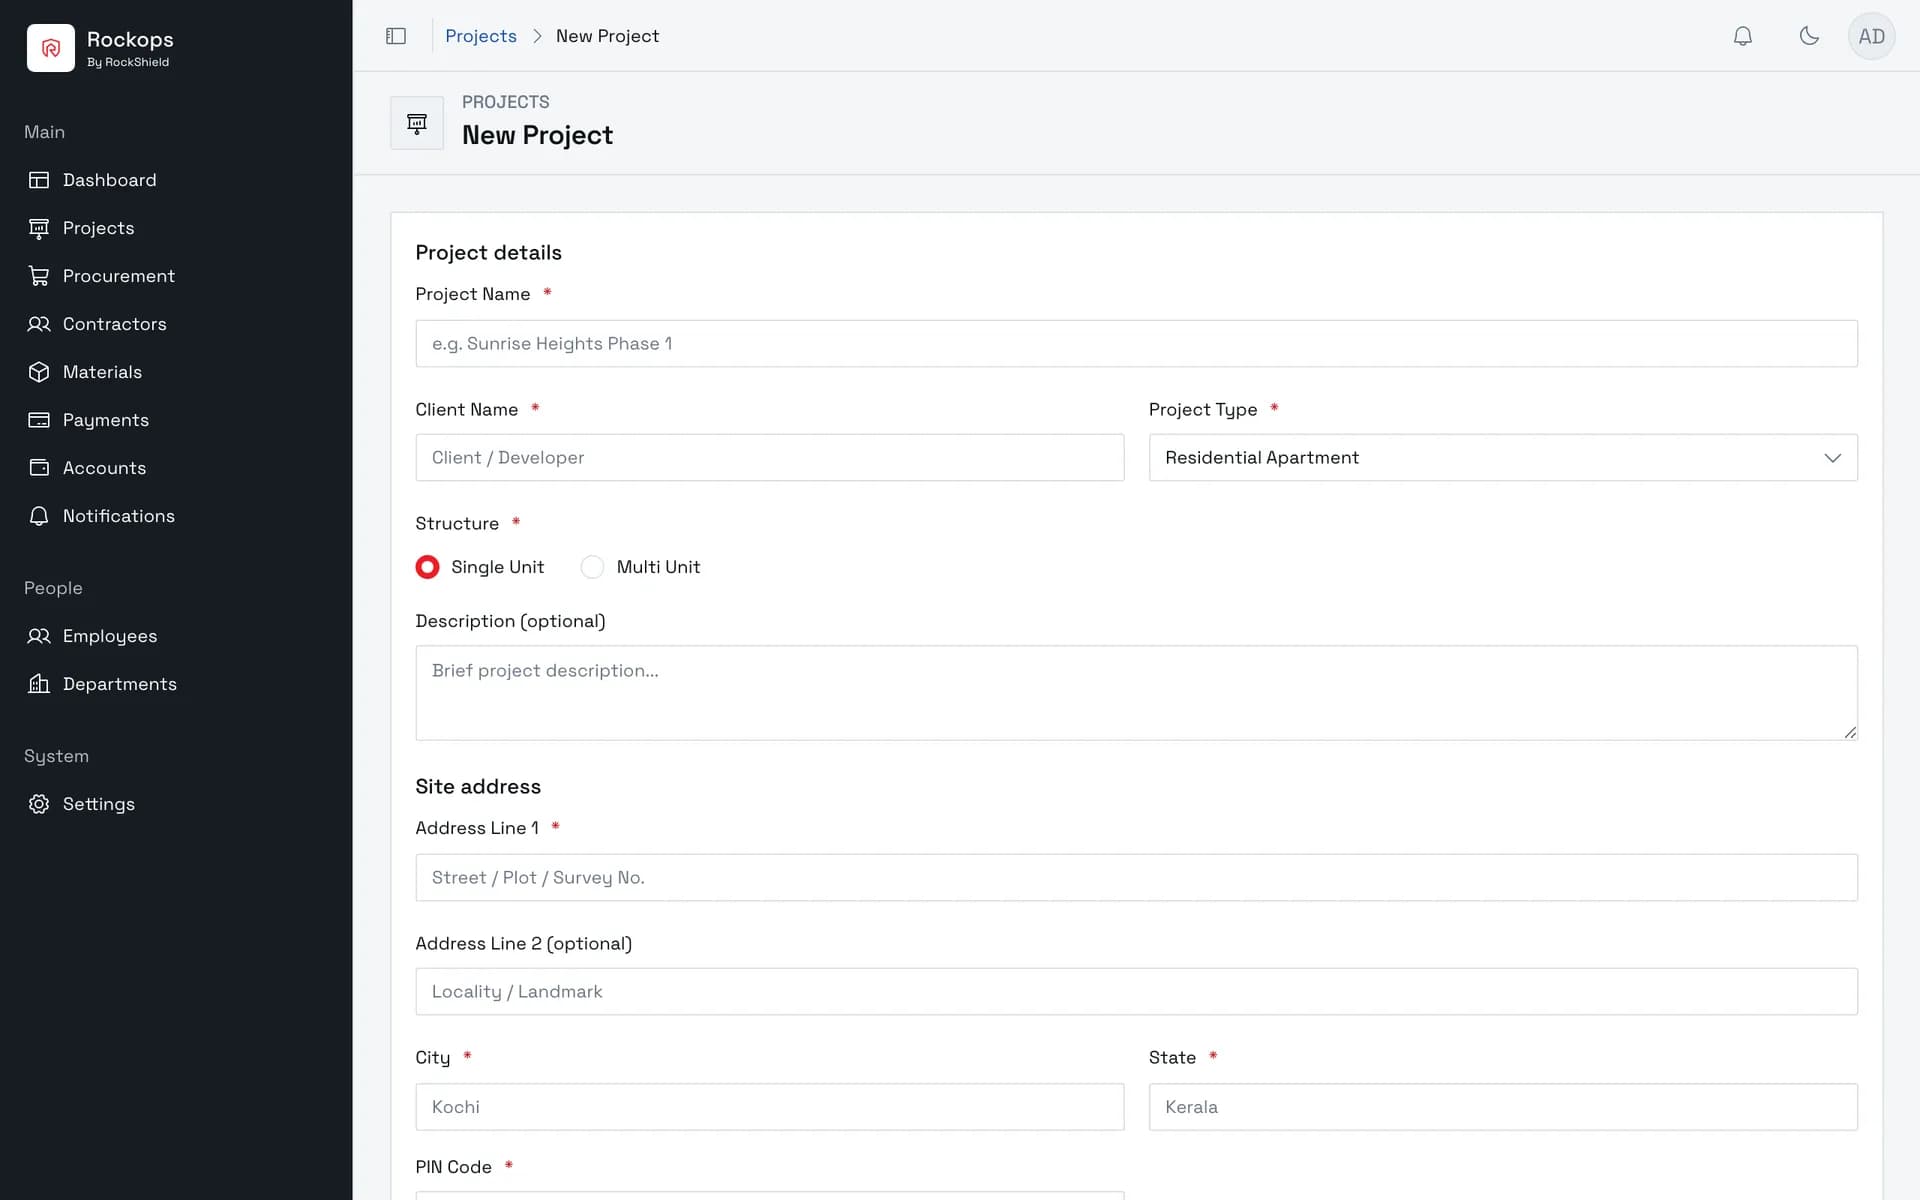
3. Open the New Project form
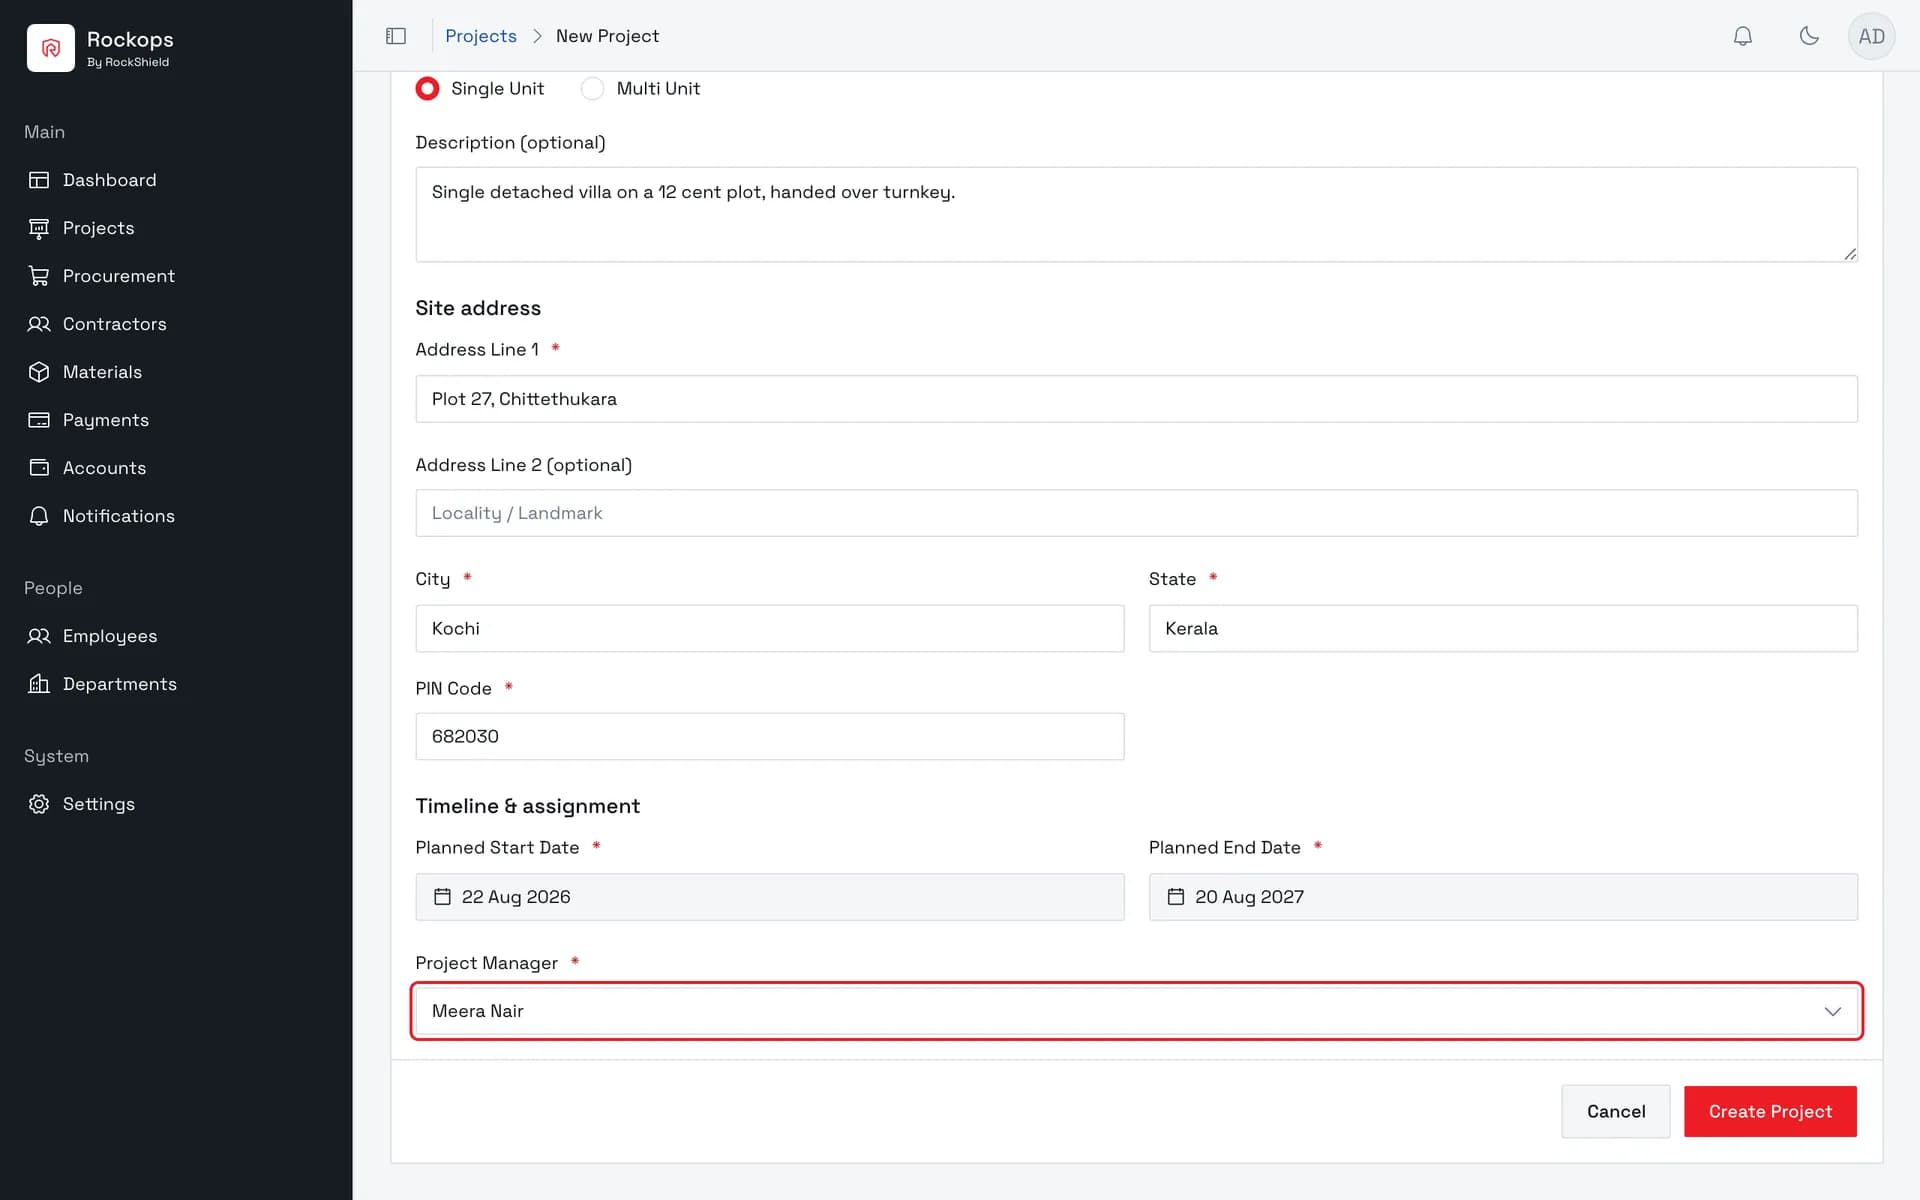
A full page, not a side sheet, in three sections — Project details, Site address, and Timeline & assignment.
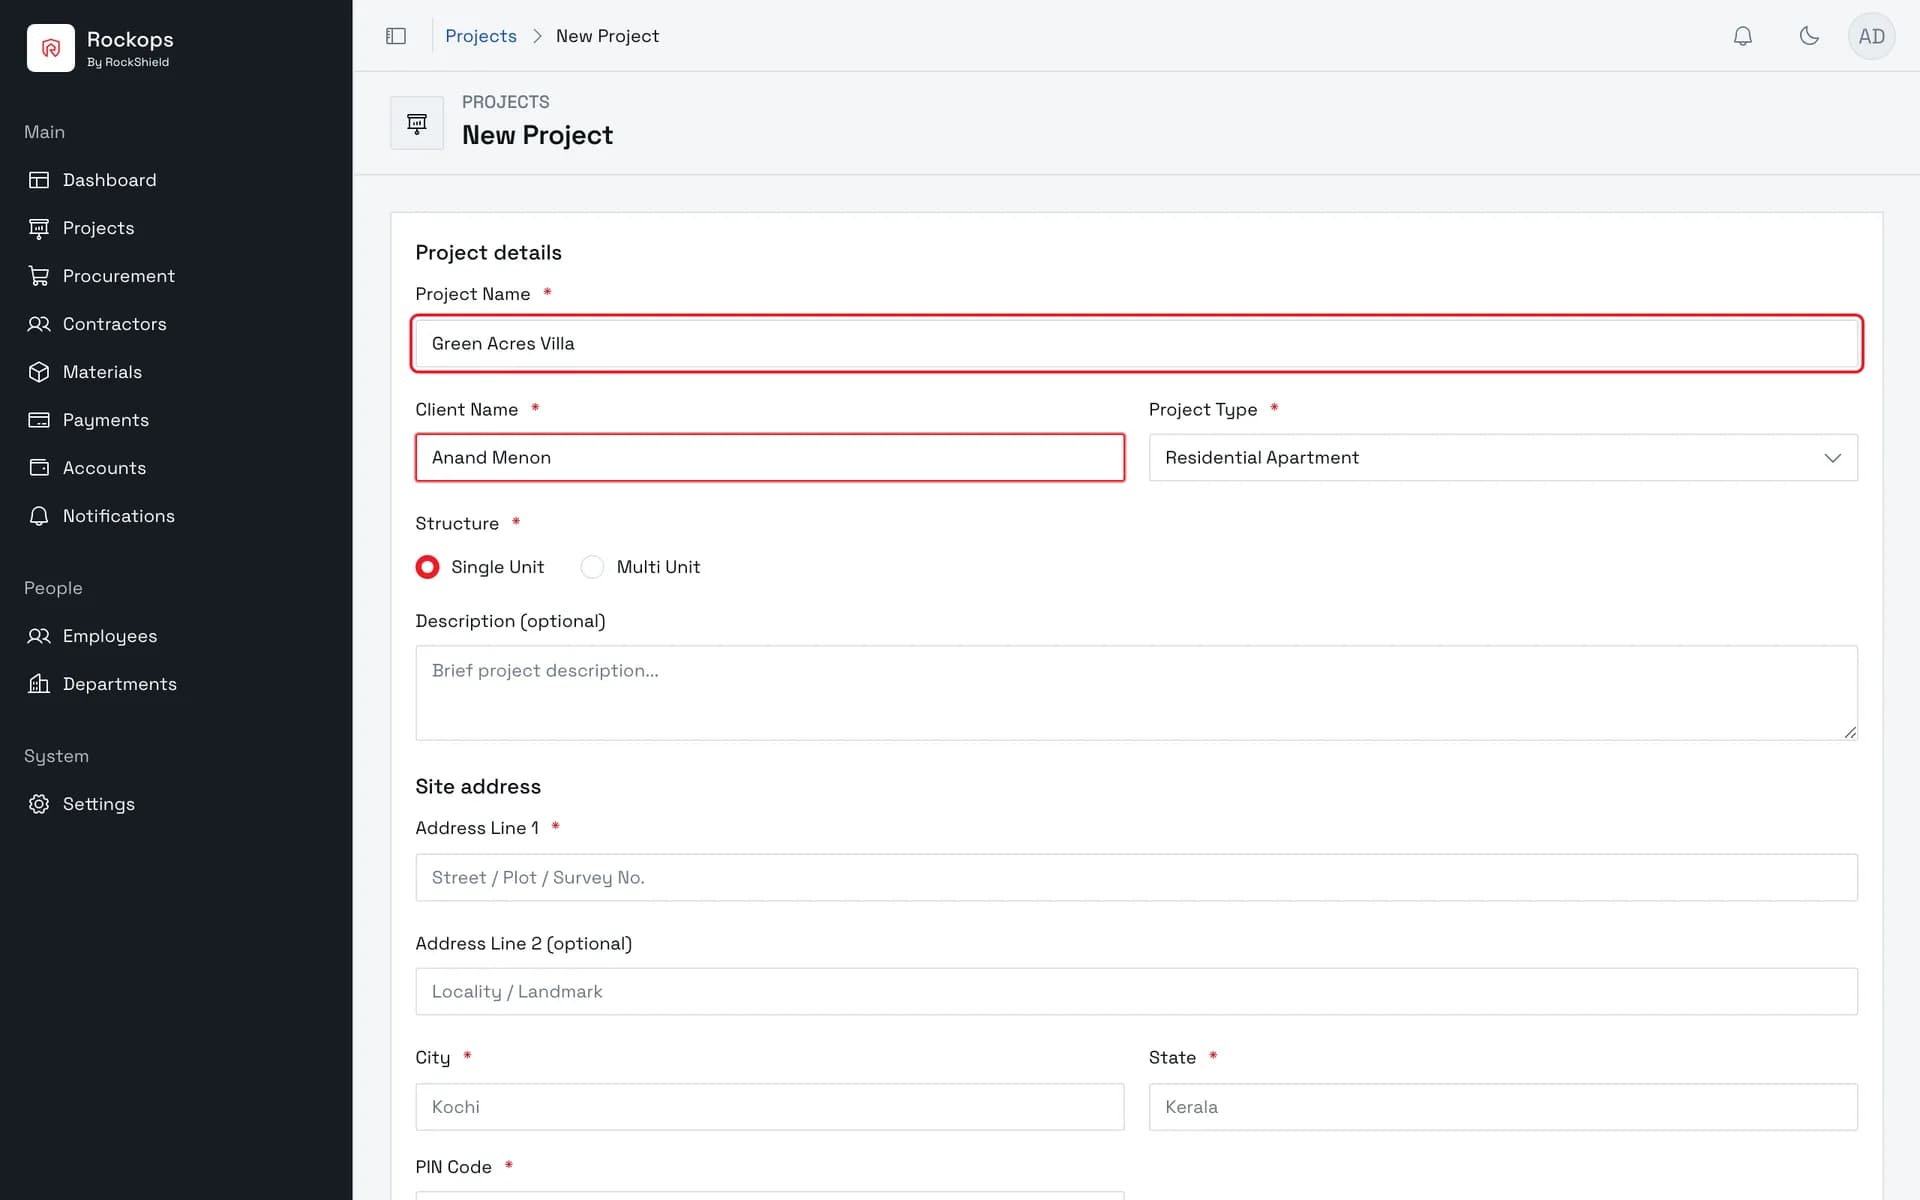
4. Name the project and its client
Both are required, both up to 160 characters. Project names are not forced to be unique — the generated code is what tells two of the same name apart.
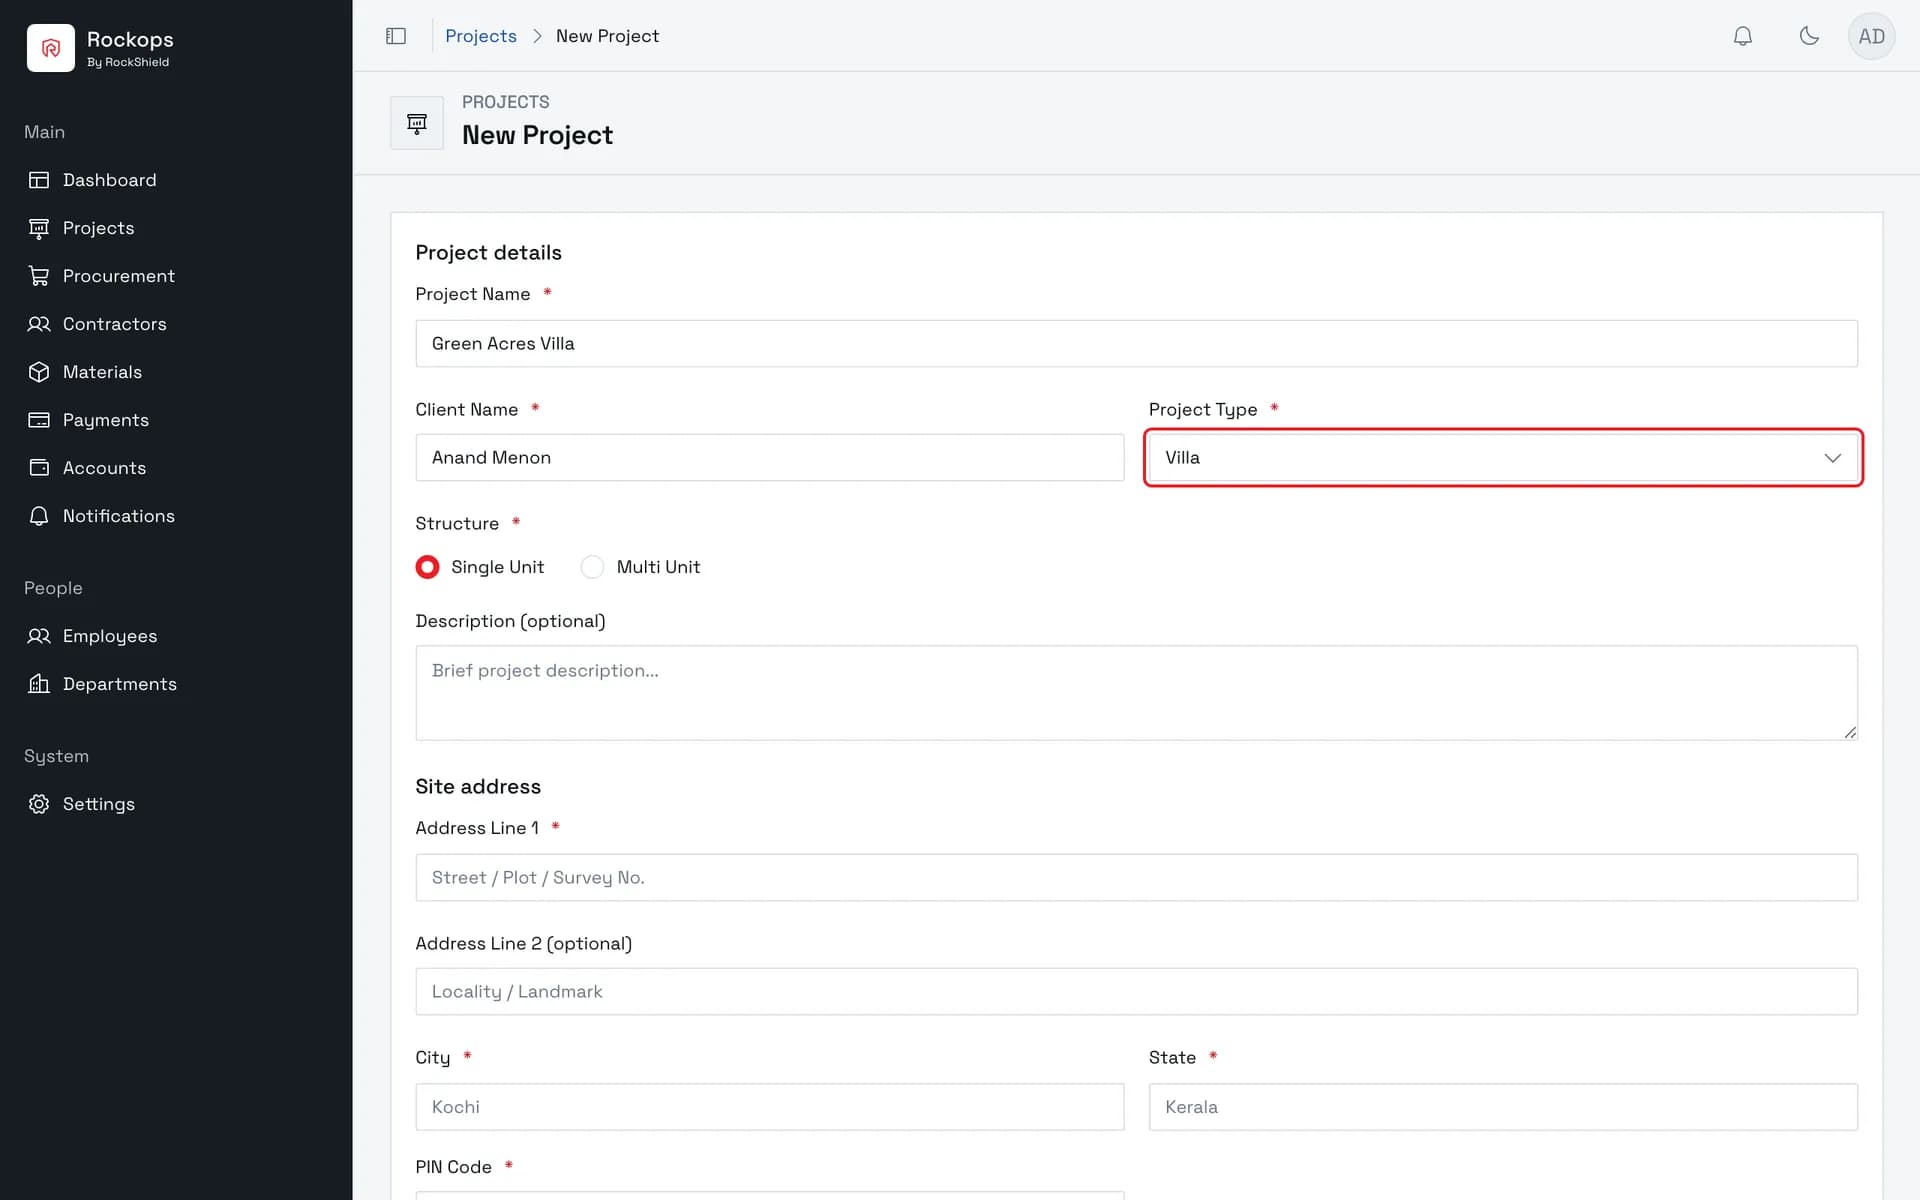
5. Choose the project type
Residential Apartment, Villa, Commercial, Infrastructure, or Other. Defaults to Residential Apartment, so it is easy to leave wrong.
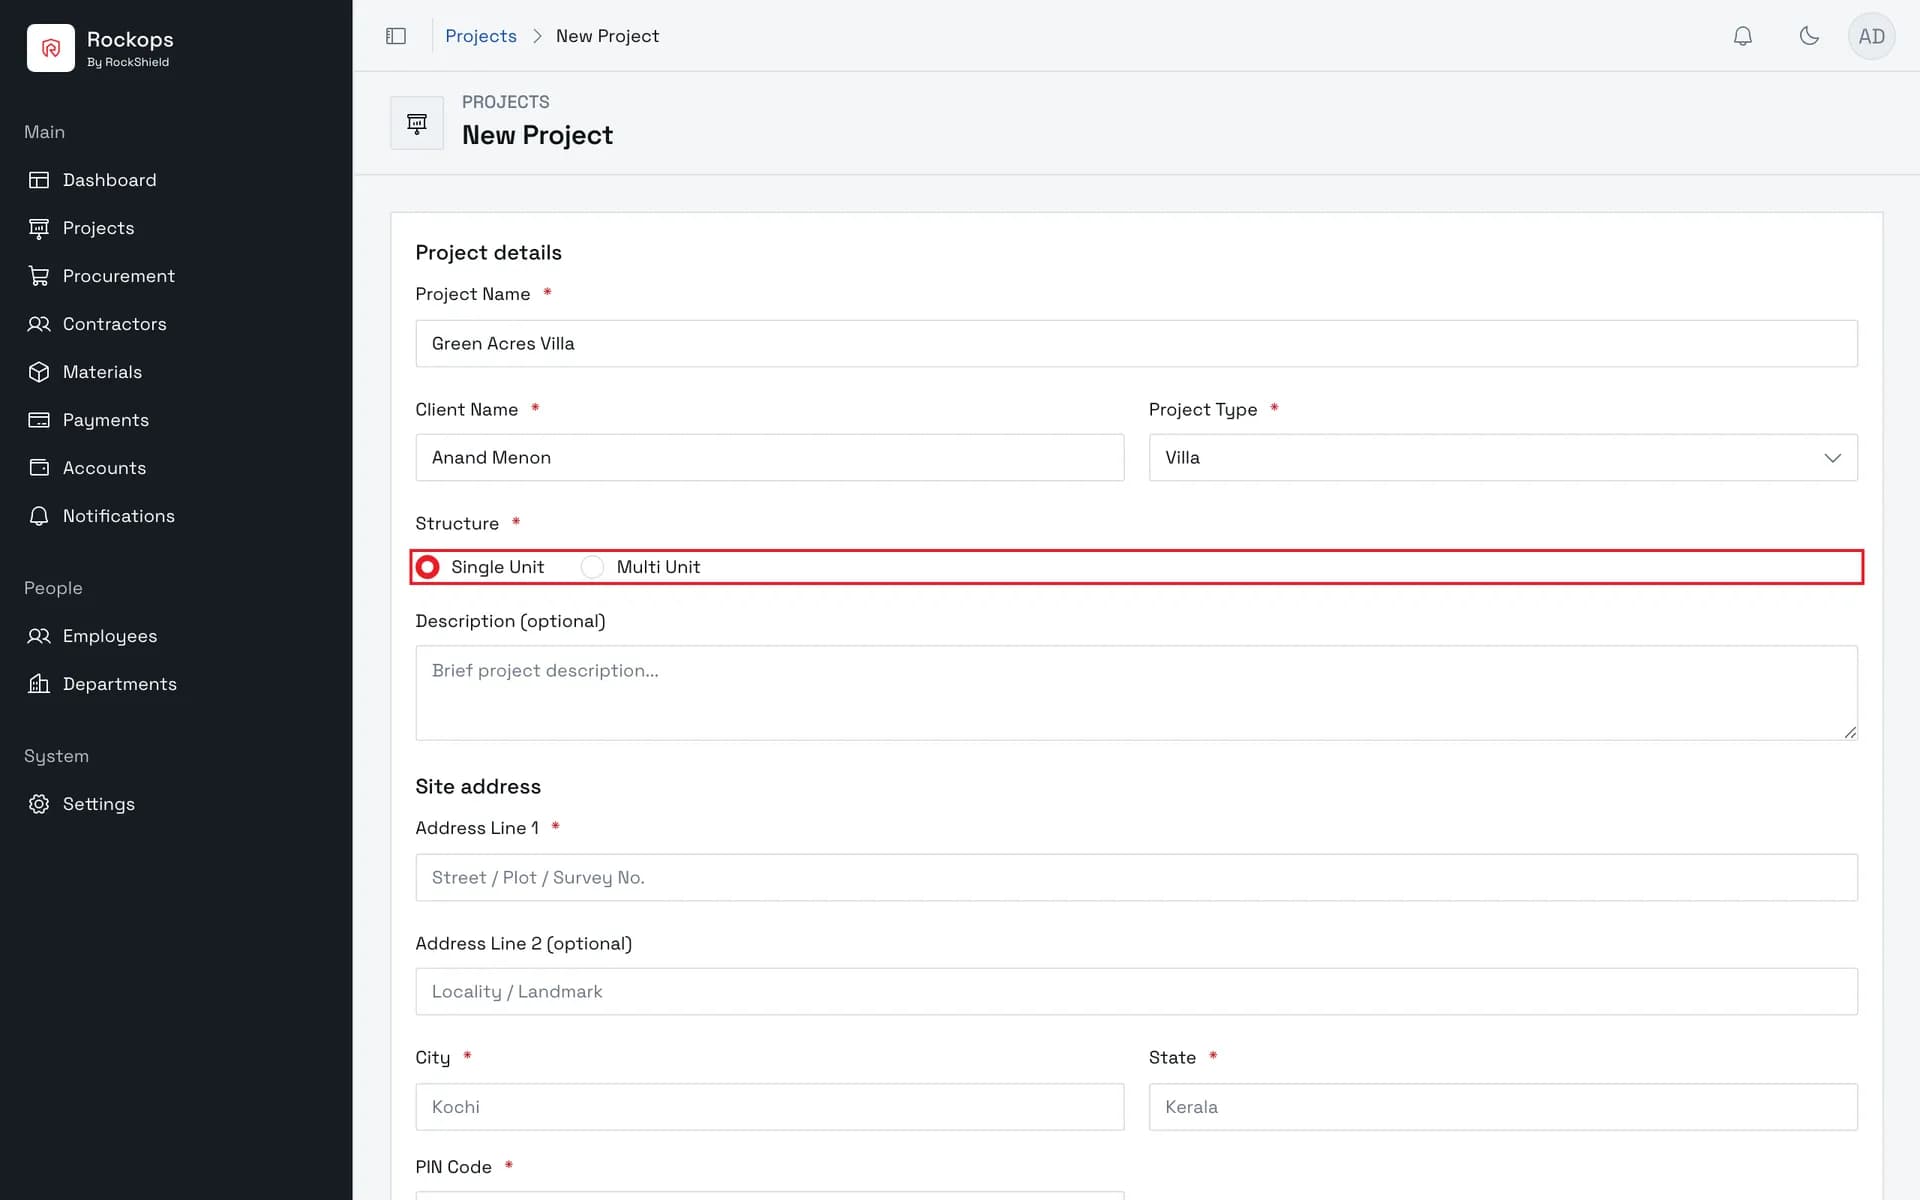
6. Choose Single Unit or Multi Unit
Single Unit is for one standalone build; Multi Unit is for a project made of many units, like an apartment block. It defaults to Single Unit, and it decides where you land after saving — a multi-unit project opens straight into unit setup.
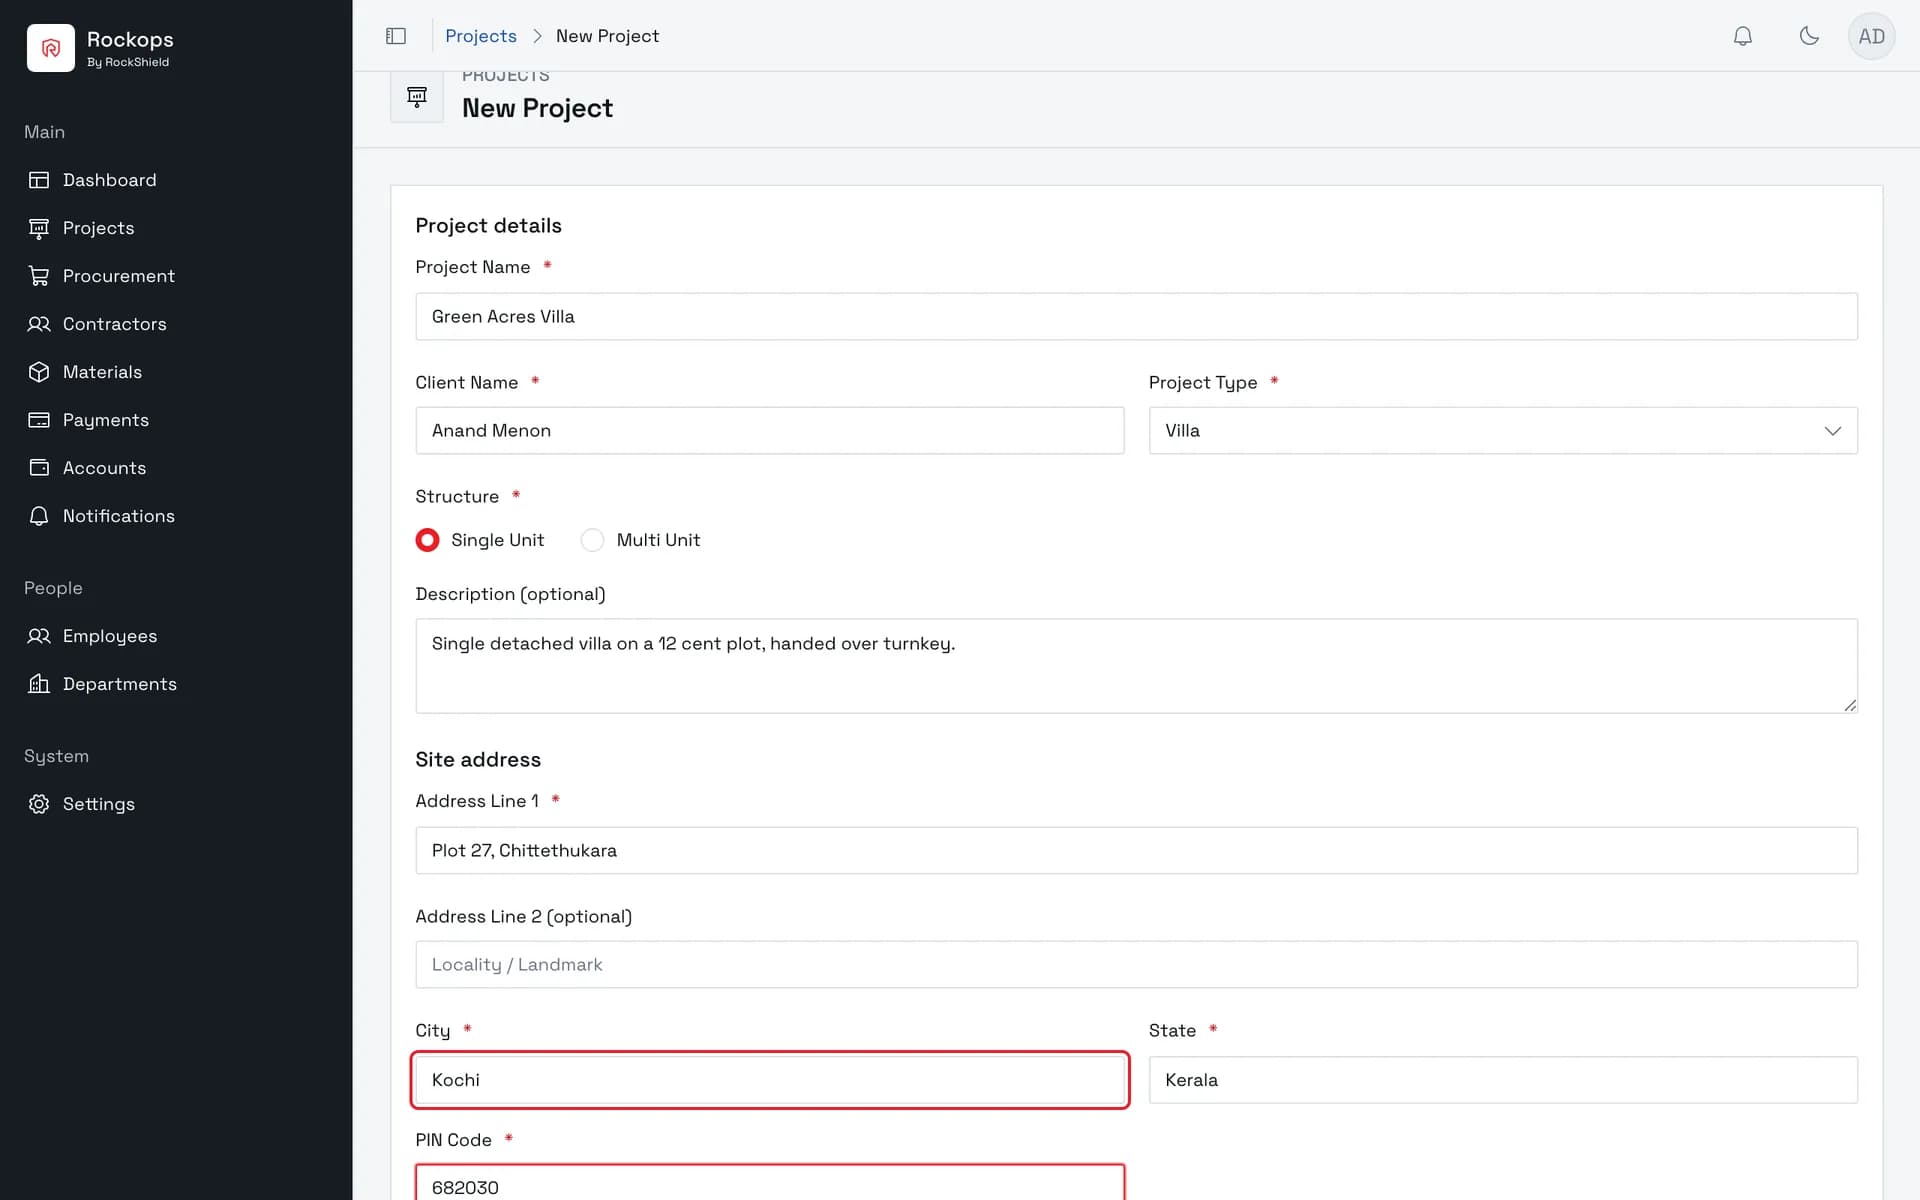
7. Enter the site address
Everything except Address Line 2 is required here — unlike the contractor form, a partly filled project address will not submit.
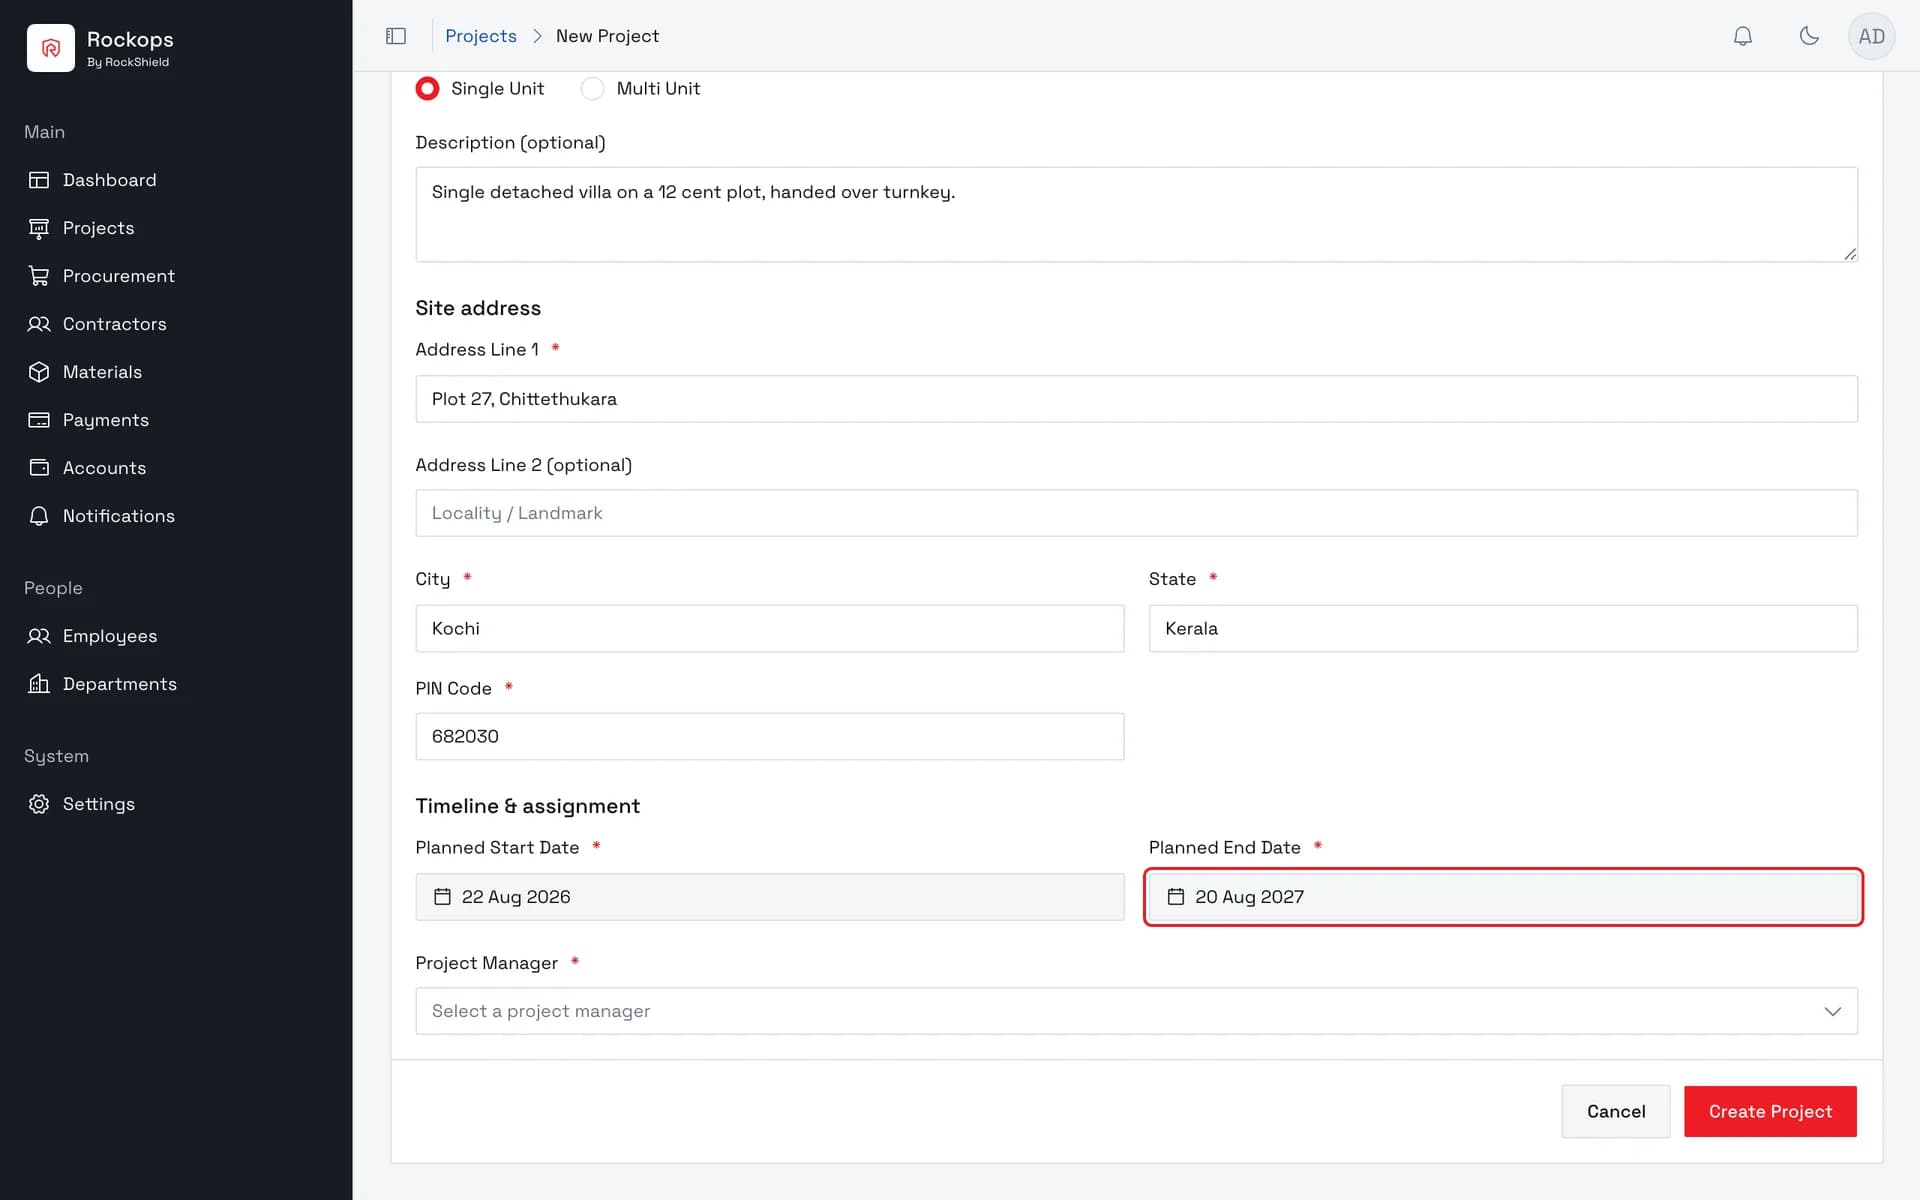
8. Set the planned window
Both dates are required and both open a calendar rather than accepting typing. The end date must be strictly after the start date; equal dates are rejected.
9. Assign the project manager
The list holds only active employees who hold the Project Manager organization role — not every senior employee, and not deactivated ones. If it is empty, the role has to be granted before a project can be created at all.
10. Project created
A single-unit project opens on its own overview. It starts in Draft — it only becomes Active once an estimate has been submitted and approved.
Field reference
| Field | Required | Rules |
|---|---|---|
| Project Name | Yes | Up to 160 characters. Not forced to be unique — the generated code is what distinguishes two projects sharing a name. |
| Client Name | Yes | Up to 160 characters. Shown beside the project name on its overview. |
| Project Type | Yes | Residential Apartment, Villa, Commercial, Infrastructure, or Other. Defaults to Residential Apartment. |
| Structure | Yes | Single Unit or Multi Unit. Defaults to Single Unit. Decides where you land after saving. |
| Description | No | Up to 2000 characters. |
| Address Line 1 | Yes | The site address, not the client's office. |
| Address Line 2 | No | Locality or landmark. |
| City / State / PIN Code | Yes | All three are required. |
| Planned Start Date | Yes | Chosen from a calendar; the field cannot be typed into. |
| Planned End Date | Yes | Chosen from a calendar. Must be strictly after the start date — the same day is rejected. |
| Project Manager | Yes | Active employees holding the Project Manager organization role, and only those. |
| Code | — | Not a field. Assigned on save as PRJ-, the year, and a counter — PRJ-2026-0001. |
Unlike the contractor form, the site address here is all-or-nothing: every part except Address Line 2 is required, so a partly filled address will not submit.
Best practices
- Get Structure right the first time. It is the field that decides whether the project has units at all, and it is the one this form defaults for you. A standalone villa entered as Multi Unit lands you in unit setup you don't need.
- Set the planned window generously. Both dates are required at creation, before any estimate exists, so they are a plan rather than a commitment — but they are what the project list's timeline column shows from then on.
- Grant the Project Manager role before you start creating projects. It is an organization role on the employee, not something this form can set, and without it the last required field on the page cannot be filled.
Troubleshooting
The Project Manager list is empty, or reads "No employees hold the Project Manager role" — nobody in the organization has that organization role. Add or edit an employee and set System role to Project Manager on the Employment step; that provisions their platform access. Being an Administrator or Owner does not make someone eligible.
"Select an active employee who holds the Project Manager role." — the employee named is deactivated, belongs to another organization, or no longer holds the role. The message is deliberately the same for all three.
"End date must be after start date" / "Planned end date must be after start date" — the first is the form's own check, the second the server's. Both mean the same thing, and both reject two identical dates as well as a backwards range.
"Required" under several fields at once — twelve fields are required on this form, and the address and date groups are easy to miss because they sit in their own sections further down the page. Scroll through all three sections.
Create Project fails even though the form looks complete — you are signed in as a role that can read projects but not create them. The button and the page are shown to every role in the module; only Administrator, Owner, and Project Manager can actually save. See Before you start.
Created the wrong project — projects can't be deleted. A project still in Draft can be cancelled from its overview using Cancel Project, which is a terminal state rather than a removal.